Do you remember high school chemistry lab? The mad scientist thrill of measuring and mixing and heating? The whiff of danger implied by all the safety protocols, the eye wash station, and the emergency shower with its giant red handle? The smug knowledge that you were no longer a member of the "do not play with matches" segment of society. No, now you were being graded on your ability to finely tune your bunsen burner. Did you feel like you were being initiated into a secret society, where you learned the most fundamental truths of the matter that makes up our universe? It was a little bit magical, wasn't it?
Mucking about with chemistry is one of the more interesting parts of being a potter. Chemistry is the how and the why behind glazes and clays and firings.
There are all types of potters, who focus on all sorts of different parts of the process. Because there is so much to learn, in many pottery cultures, there is a history of specialization, similar to a modern factory system. Groups of potters work together for one studio, allowing each person to master a particular branch of knowledge, or one particular step in the pottery process. One craftsperson may do nothing but throw teacups, while another is in charge of the production of large storage jars. Someone else may never handle the wet clay at all, but do all the glazing. Yet another person may spend their time loading and firing the kilns, learning to tame the fire. The results are spectacular. With each person free to concentrate on just one thing, each person masters their particular contribution and the joint effort is beyond anything any one of them could have done alone.
But the potters working in cooperative studios, tirelessly mastering one aspect of their craft, tend to be forgotten by history, or actively disregarded as mindless drones. We are tempted to look past them for the man behind the curtain. No, but who is the artist? From our contemporary worldview, we are in love with the idea of some genius with a grand vision directing the show. Really we should know better. All the wonderful Renaissance painters ran workshops full of apprentices and contracted out different parts of the process. There were drapery painting experts, background landscape experts, people to prepare your pigments, your plaster, your scaffolding… And most of the achievements of our current scientific age are based on cooperative systems, with thousands and thousands of people, each contributing one tiny part to the whole, without ever understanding how the other parts work exactly. I can pay a doctor to fix me, he can pay a lab to run my blood-work, the lab can pay a supplier to compound the chemicals they need for my cholesterol test… And this is without getting into the elegant examples of complex systems built of simple parts in the natural world. Such stunning complexity from a few simple rules of physics. Such elaborate ecosystems built up as species evolve to exploit the available niches in their local environment.
Maybe it's because we are assailed by a constant bombardment of evidence to the contrary, that we love the idea of the solitary genius who does it all. We know how unlikely such a creature is to exist, so when we think we may have found one, we long to believe. The modern "studio potter" movement celebrates the potter as an artist and an individual. That's great, because it recognizes talent that would have gone un-sung in other contexts. That's not great, because it discourages the cooperation which leads to really sterling work. It also encourages artists to pursue individuality at the expense of quality, craftsmanship, and understandable content. And there is a real backlash against contemporary art as a result. In the clamor to say something revolutionary, a lot of artists, potters among them, end up saying nothing at all.
But, that said, potters are the most cooperative group in the art world. There are just too many variables that go into making a piece of pottery for anyone to be an expert in all things. So we share glaze recipes. We share techniques. It's the only way any of us get anywhere.
With that as background, on to mixing glazes…
There are a few ways to approach glazes. Some potters chose to spend the bulk of their time on other parts of the process. They buy powdered glazes premixed. Like cake mix. Just add water. You can also buy small amounts of liquid glaze in jars, ready to go. For people with a really time intensive decorating technique, who need lots of different colors in very small amounts, this is usually a good way to go. Other potters get into the mixing of glazes, but they work from established recipes. There are tons of books of glaze recipes out there, and potters all swap personal recipes back and forth as well. Other potters are attracted to the science of glaze chemistry. The science may be what got them into pottery in the first place, or they may be trying to achieve a very particular effect, for which no one has developed a glaze, or trying to recreate a historical technique, for which the recipe is lost. So they read, they mix, they test. They read, they mix, they test. Their forms are necessarily more simple, to leave them time to pursue the chemistry of the glazes.
Like all good little chemists, potters weigh their ingredients, rather than measuring by volume. If you want to mix your own glazes you will need to invest in an accurate scale. I use a three-beam balance, accurate to .05 grams. As long as gravity keeps working, so will my balance. No batteries to replace and no need to update the software every 3 months. It just works.

The ingredients of a glaze are at once very simple, and very complex. For starters a typical glaze needs some sort of "glass former" to make it glassy and water-tight. This may make it shiny, or it may not. Glass doesn't have to be shiny. There are a ton of variables at work here. The tricky part is getting the glass to stick to the pottery. Powdered glaze ingredients are mixed with water to make a liquid glaze to apply to the pottery. The glaze firing melts the glaze into a smooth glassy coat, but the melting glaze wants to run right off the pot. So we also need…
A "stiffener." We need something to slow that running down and help the glaze bond to the surface of the pottery.
And speaking of the pottery, here is the really tricky part… each clay body formula has it's own specific firing needs and the glaze needs to match. It's as if you were going to bake a cake and you had bake the icing in the oven with the cake at the same time. The cake and the icing need to bake at the same temperature and both need to come out done and delicious at exactly the same time. Whoa. So each glaze needs a certain amount of "flux," which alters the melting point of the glaze to match the firing needs of the clay. But wait, we aren't done yet…
Because clay and glaze expand and shrink as they heat and cool. When the glaze is in a liquid state, during the hottest part of the firing, the challenge is to keep it on the pot, but as things cool down again, the glaze re-solidifies. It needs an appropriate "coefficient of expansion" for the clay of the pot. If the clay shrinks more than the glaze as it cools, the glaze doesn't fit tightly to the surface of the pot and it can "shiver" off in razor sharp flakes. It looks smooth on the surface, but the glaze layer is actually sort of floating above the pottery. Any strong pressure can crack the glaze off in a big sheet. This can happen weeks or months later, leaving someone with a little glass shard hiding in their Rice Krispies. On the other hand, if the glaze shrinks more than the clay as it cools, the piece will have "crazing," a network of tiny cracks in the glaze. This is not nearly so dangerous as shivering. When a piece of pottery crazes, the glaze itself is crackled, but it is still firmly bonded to the clay of the pottery. Little pieces aren't likely to come off. Some glazes are intentionally developed to be crazed, as a decorative effect. The famous rabbit-patterned "Dedham Pottery" for instance.
Having sorted all that out, now we might want to decide a few aesthetics. We can make our glaze more or less translucent or completely opaque. We can change the color. We can make it grow great big crystals like snowflakes. We can make it have speckles. We can design it to run artfully down the pot a little bit, or to stay absolutely where we put it so that we can paint detailed designs and they won't smear during the firing. We can make it slick and smooth, or crusty like lichen.
And the really tricky part… is that the ingredients we use never just affect one quality of the glaze, they usually affect several at once. If I add a powdered clay to my glaze, it will contain silica, which is a glass former, AND alumina, which is a stiffener. Many clays also contain iron oxide, which changes the color, but what color you get depends on how the iron interacts with other ingredients in the glaze and how you fire it. Iron oxide is also a flux, so it will affect the melting point of my glaze. And depending on my firing conditions, the iron can make my glaze translucent and shiny, or opaque and satiny. Occasionally it even grows little crystals like snowflakes. So many variables, in just one glaze ingredient! Balancing a complete glaze formula becomes very tricky.
And the really, really tricky part… is that we are working with natural ingredients that are dug out of the ground and often vary slightly from batch to batch. There are all sorts of trace elements that come along for the ride with my ingredients. I can get a chemical formula for something, and use that as a starting point for creating a glaze recipe, but I will have to do some testing to fine tune the recipe, because each bag of flint, or wood ash, or gerstley borate is slightly different from the formula printed on the label.

Okay, so that's kind-of-sort-of how you think about formulating a glaze, but how do you actually prepare one?

Step one, weigh out your assorted powdered ingredients according to your formula. In the photo below you can see the ingredients for what will become five gallons of teal glossy glaze. It takes about two and a half gallons of solid ingredients to make that amount of glaze. Almost all of that is dry powdered clay, in this case, EPK or Edgar Plastic Kaolin; and silica, our glaze former, finely ground natural glass. There is a also a bit of talc (the same stuff in baby powder and stinky shoe powder.), and some frit, a commercially produced flux that melts at a specific temperature. The handful of brown you see is rutile, and oxide of titanium and iron that gives the glaze a nice speckled effect. At the very top of the bucket you can see the tiniest amount of pink: cobalt to give us blue. And green: copper to give us green. We are talking about a tablespoon of colorant to turn an entire bucket of glaze blue or green. Whoa! Science! I also throw in a handful of epson salts, (magnesium sulfate), as a deflocculant, to help keep the other ingredients suspended in the glaze. Without a deflocculant all those heavy clays tend to cake at the bottom of the bucket in an un-stirrable mass. With a deflocculant you just have to stir madly every five seconds. Without one you need a jackhammer.

Speaking of which… Certain glaze ingredients have a bad tendency to clump into gluey unsinkable lumps if they go into the glaze all by themselves, so, wearing a proper industrial respirator (a paper dust mask is NOT GOOD ENOUGH!), and working with a good ventilation system or outside, stir your dry ingredients. This is going to make a lot of dust, and finely powdered glaze ingredients are not something anyone should be breathing. Kick the dog out of the studio if you are doing this indoors, even with the ventilation running. I knew a dog with silicosis, and it was scary. If she got excited and started to run around, she couldn't get enough air and would collapse and pass out. We all tried very hard to never get her excited. Silicosis is the black lung of potters. You don't want it. Stir gently but thoroughly until your dry ingredients are completely mixed.
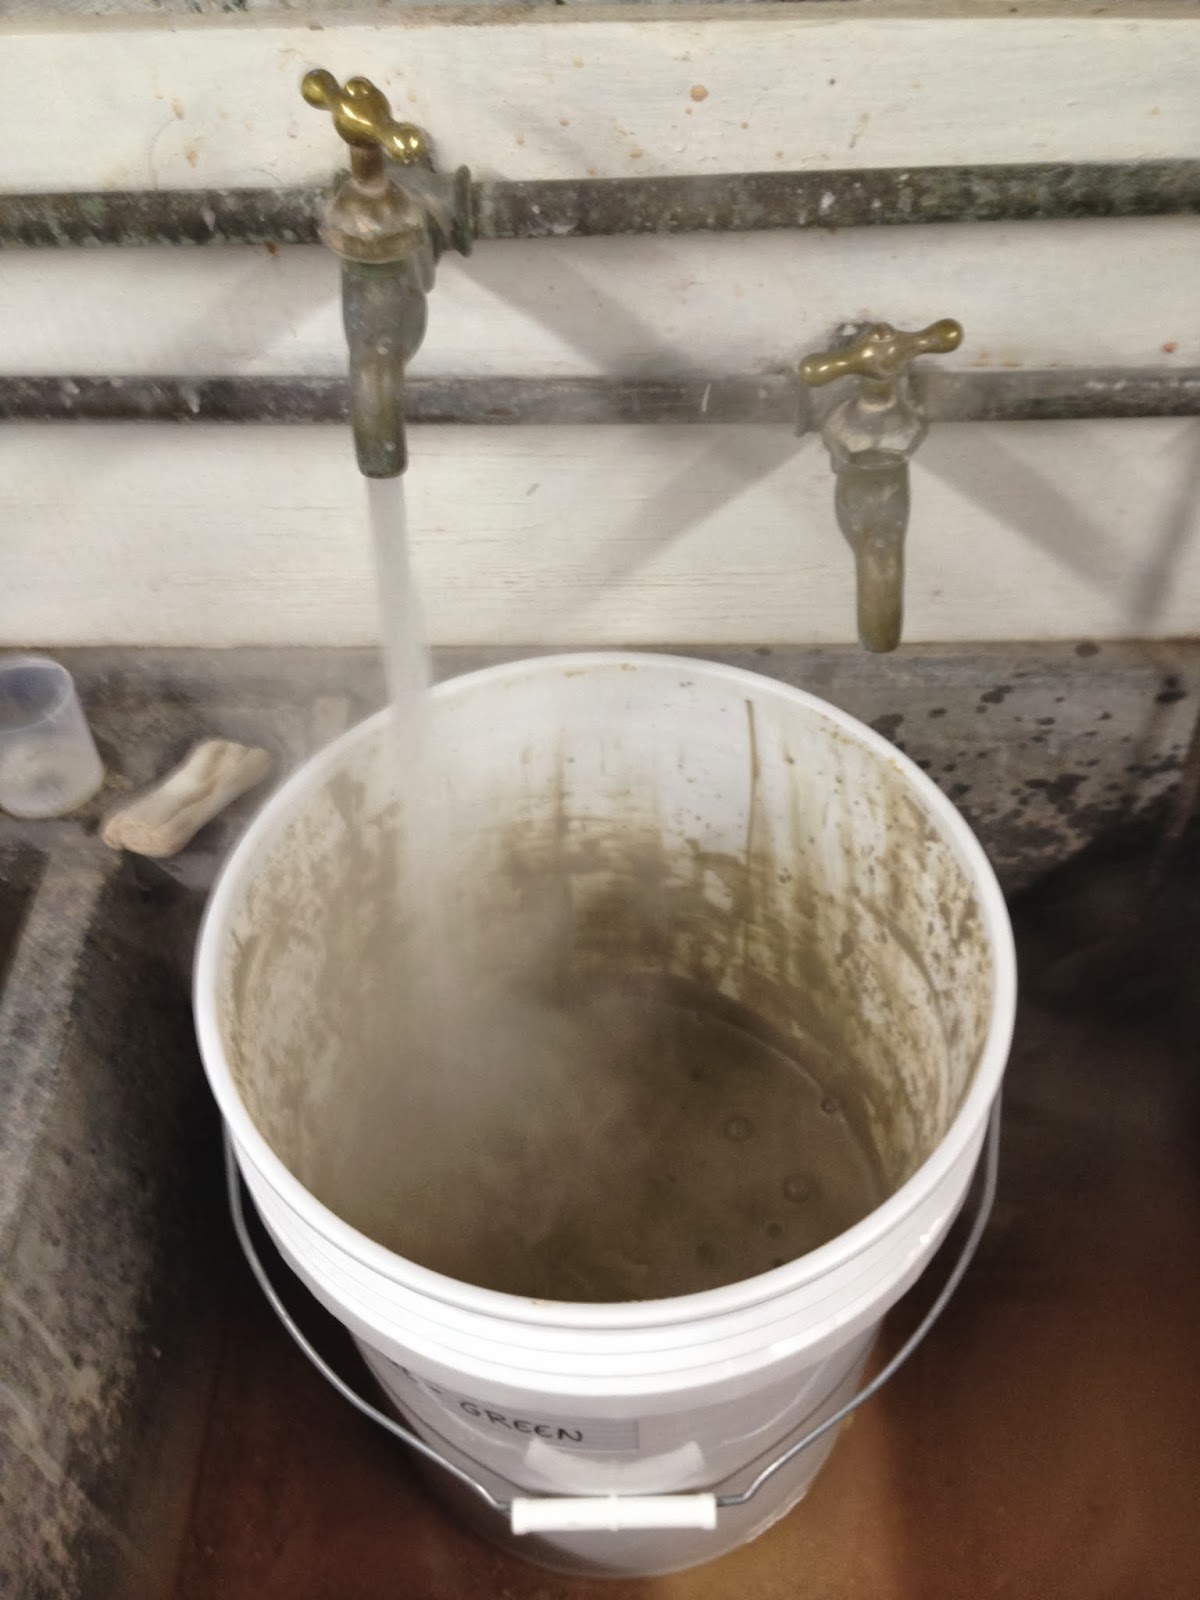
If you are mixing a brand new bucket of glaze, partially fill a clean bucket with hot water. If you are just topping off your supply of an old glaze, add some hot water to the existing glaze bucket. How much water you will need depends on how much glaze you are making. You can always add more water if your glaze is too thick, but the only way to take it out is to leave your bucket open and wait for evaporation. Err on the side of too thick. Start with a bare minimum of water.


If you are mixing a brand new bucket of glaze, partially fill a clean bucket with hot water. If you are just topping off your supply of an old glaze, add some hot water to the existing glaze bucket. How much water you will need depends on how much glaze you are making. You can always add more water if your glaze is too thick, but the only way to take it out is to leave your bucket open and wait for evaporation. Err on the side of too thick. Start with a bare minimum of water.
Slowly add your premixed powders to your bucket of hot water or existing glaze. As when mixing plaster, always add powder to water, never water to powder. That keeps lumps to a minimum. This is going to kick up a lot of dust, no matter how carefully you do it, so wear your respirator and have the ventilation system running or work outside. Add a little powder. Stir. Add a little powder. Stir… Take your time to break up the biggest softball-sized lumps as you go. It will save you headaches in the long run. If you get impatient, you'll end up with a bucket full of water with one giant iceberg of glaze ingredients floating in it that refuses to break apart or sink.
Once you have dispatched the worst of the lumps and incorporated all your powder into your liquid, you need to get the whole thing mixed to an absolutely smooth consistency. There are all sorts of blunging attachments you can put on your power drill to beat out the smaller lumps. (To blunge. The word of the day!) Some folks use an old kitchen blender, or an immersion blender (stick blender). The kind you put right into the pot to turn that pot full of veggies into a fine cream of broccoli soup. You can pass the whole bucket of glaze through a graduated set of finer and finer sieves. (Takes forEVER, but some people like it.) My personal favorite tool for the job is the Talisman glaze sieve. It looks like this:
You put it over an empty bucket, pour your sloppy glaze in, and turn the big handle on top. A series of little brushes swish all the glaze, lumps and all, through a screen at the bottom. You can sieve a five gallon bucket of glaze five times in five minutes. Admittedly, it does take a little effort to take it apart and clean the brushes out carefully, so you don't have cross contamination of ingredients between glaze batches, but the time you save in sieving makes it completely worthwhile.
Once you're all nicely sieved, be sure your bucket and it's lid are both carefully labeled. Most glazes don't resemble their eventual color at all, so careful labeling is important. If you work in a group studio, it's a good idea to put your name and the date on the bucket as well, in case anyone has a question for you. Save the notes you made while measuring out your ingredients so that you can look back at them if something doesn't turn out as expected. Make sure all your math is on that piece of paper. Even the really easy math. Make sure you check off ingredients as you add them in case you are interrupted in the middle of measuring. Be sure you make a note anytime you are opening a new bag of an ingredient in particular, since ingredients may vary from batch to batch. Glaze ingredients are expensive, so careful notes may mean you can figure out what went wrong with a batch and fix the problem.
Add a bit more water to your glaze if necessary. Most glazes will be best thinned to the consistency of heavy cream, but it depends on the glaze and the application technique.
I like to let any newly mixed glaze sit for a day or two before using them on any pots. Some of the ingredients take time to absorb all the water they can hold, and this can affect how smoothly your glaze application goes. Some ingredients may go into solution with a little time, or chemically combine with other ingredients. Who knows what the heck is going on in that bucket? All kinds of fun stuff! Give it a day or two to settle down before you start glazing with it. The most interesting and extreme examples of this are soda glazes. They are strongly basic, and quite chemically active in the bucket. So much so that you can do wonderful experiments. Mix a batch of glaze. Glaze a teapot. Wait a day. Glaze another teapot. Wait another day. Glaze another teapot. They will all look slightly different when they come out of the kiln. How long the glaze sits on the pot before you fire it also makes a difference for soda glazes. Most glazes, however, just need a day to really soak themselves after mixing, and then are stable. You may need to add a little more water a few days after mixing.
No comments:
Post a Comment